
It all started when my sister-in-law Megan told me she wanted to make an FHE board (FHE="Family Home Evening" is something that we Mormons have once a week, devoted to spending time with our family). I told her that I, too, had pinned about a dozen or so ideas from Pinterest but none had really appealed to my taste. We texted about ideas back and forth, and mutually agreed that it would be so much fun to do this craft together! Megan lives in Virginia and I in Oregon, so we would virtually keep each other up to date via text and picture messages. She gave me the idea to use a metal sheet from Home Depot ($10) as my board, so I went out and got one. Then a few days later I was looking at it thinking, "What on earth am I gonna do with this thing?" So I texted her again, asking her how she plans to frame it and she sent me a picture of this awesome long wood frame with a design on the top. And THAT, my friends, is when I discovered the CALENDAR FRAME!
Apparently, back in the day (and maybe still...?) people would hang their calendars in these frames and it would hold the thing in place so that you know...if a burst of wind came through the door the month wouldn't change from March to October, thus surely confusing those in the household to dress up for Halloween way before it was actually fall. haha...but for real, I have *never* before seen one of these until now. And so I asked her, "Do you think I could find one at our Goodwill?" and she said, "I'm not sure...there were two of them at mine and I thought that was pretty rare considering I had no idea what it was! But I liked the way it looked so I got one!"
That very night I ventured out to Goodwill after the hubs got home and searched & searched, digging through a blur of orange-colored oak and something that smelled like mothballs. I couldn't find anything that resembled a calendar frame, and I was making my way back up the isle when I saw a long wooden shape at the bottom of the "rubble". It took a few beads of sweat to pull it out, but when I did I saw that not only was it EXACTLY what I was looking for but there was even a sticker that said "This Oregon-made calendar frame will last you a lifetime." I said out loud, "YES!" and the guy that worked there turned to me and said, "Find something good?" haaa...
Anyway, enough of my Goodwill shenanigans. This particular frame had a bar across the middle of it, so I had the mr. take it out with his nifty tools.
 |
| before |
 |
| after- no bar! |
 |
| before- it looks much better in the picture than it did in person. |
 |
| after- just a wee bit chipped here & there. much better in my opinion! |
All the wooden labels I found at the craft store! They were inexpensive and just what I needed.


It was as easy as sliding the metal sheet right into the frame, without having to trim it or attach it whatsoever.

Megan made hers more simple but I love it just as much!

She painted her board white also, but left the metal sheet as is and stuck the vinyl letters on with a method I've never seen before. She peeled off each letter about halfway, leaving it on the vinyl sheet- then stuck those letters at once to the metal that they were perfectly lined up. Genius!
She also measured the spacing evenly on the metal sheet and put tape down to mark where the letters go. I didn't even think about this. I'm not patient enough to measure, haha...but it sure does make a difference!


And for the labels, her husband took a long wood strip similar in size to a yard stick and cut out sections with his saw. Then he routed the edges a little. The stick only costs 69 cents!


So there you have it! Two different but similar ways to make an FHE board that is super budget-friendly!

My next Goodwill project was the ever so popular chalkboard sign. I just found a mirror that had a nice shape and painted the mirror part with chalkboard paint, and of course the frame white. Easy peasy!
 |
| before |
 |
| after |

I also picked up some shelves from there recently. I forgot to take before pics but one was dark green and the other black. I just did the same ol' thing I always do and painted them...yep- WHITE! haha. I love them.


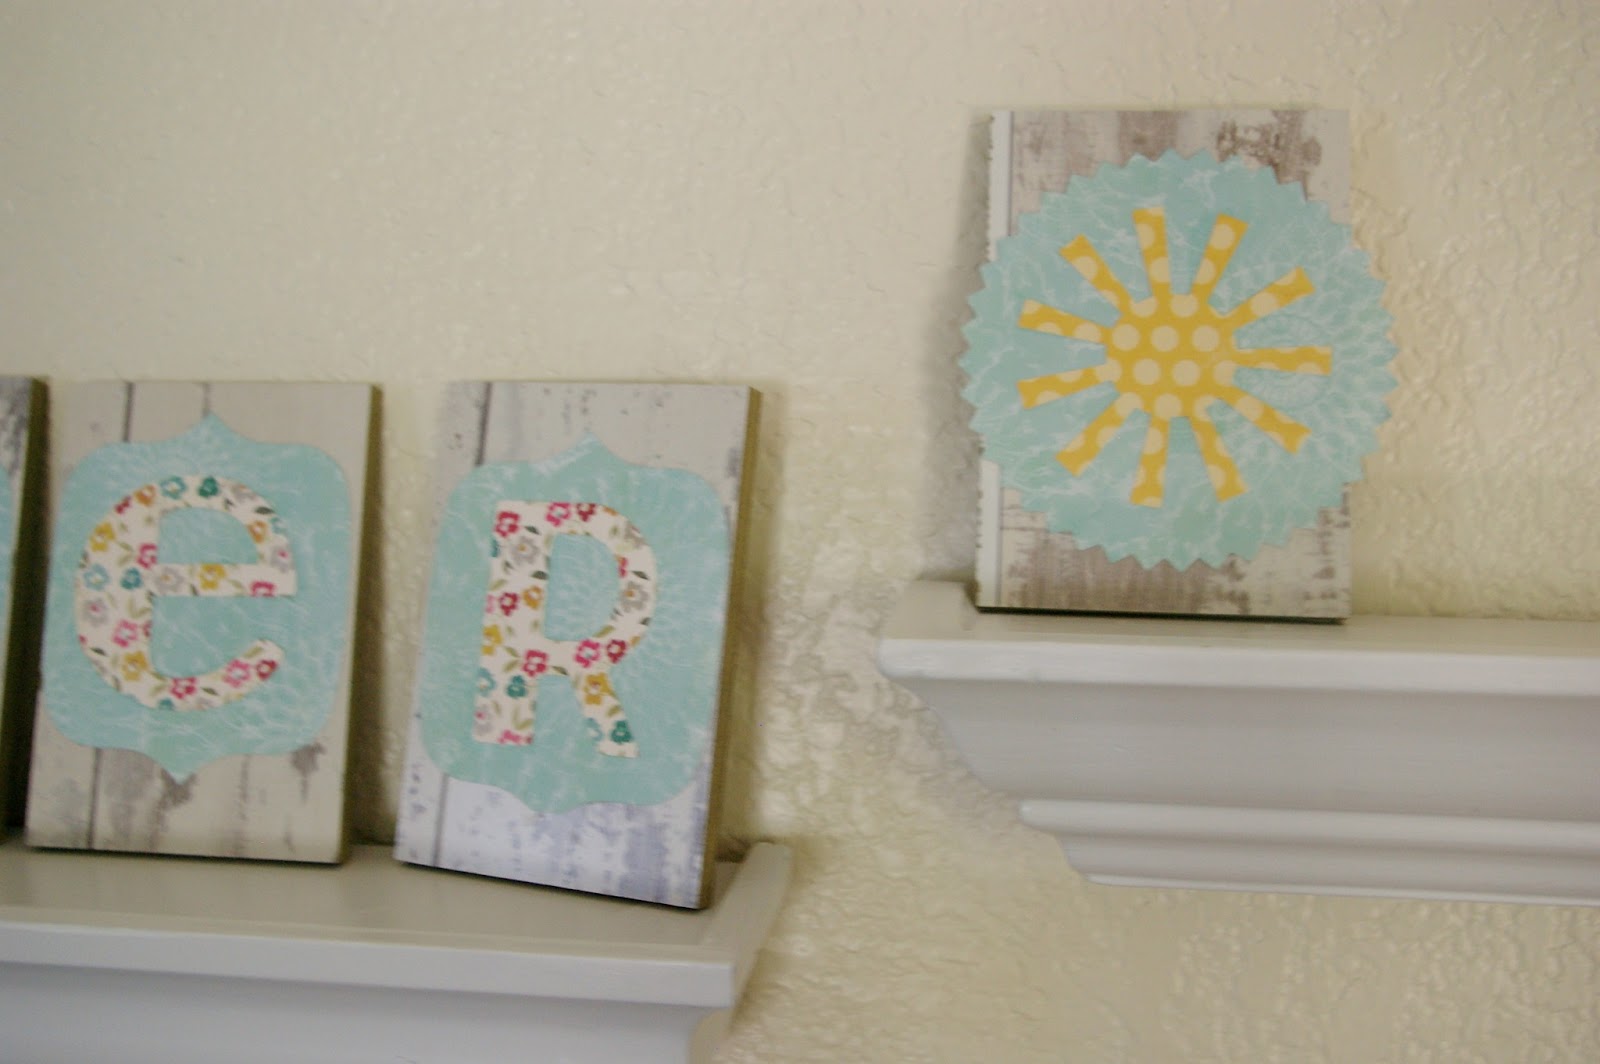

Those blocks sitting on the shelf were FREE from Home Depot (in the wood floor section). They are samples of laminate or something that you can take, so I stocked up and mod-podged these letters to them. And yes, they were absolutely FREE. You're welcome ;)
and that is what now occupies this corner of my living room. My Goodwill corner! lol

Also from Goodwill: this little stool, perfect for my Charlotte to sit her tushy on. It was so adorable and tiny- I had to have it!


All I did was unscrew the lid and spray paint the stool, then cover the lid with fabric using my handy staple gun (okay...confession- my husband used the gun. I'm terrified of that thing).


Charlotte noticed it right away when she came toddling out from naptime, and she LOVES it. It's a nice addition to our little kid table (also from Goodwill...and also painted white...do I maybe have an obsession here?)


It's truly a rare thing for me to go into a thrift store and come out empty-handed. The possibilities! Love gettin my thrift on and poppin tags :D
and these are just extra pictures...not DIY related whatsoever... ;] Can you tell how much these two love each other?!


Now go get on to your local thrift store and get craftin! ; D
***this post is being featured on my friend's blog, Tales of a Frugal Momma. Though I've never really aspired to be a guest poster, I was totally flattered that she asked me :] Thanks Frugal Momma for letting me share this with others!
No comments:
Post a Comment