Monday, August 5, 2013

Sunday day-cay

Life is busy. This last week it seemed like I hardly saw Jonathan at all. With church callings (for both of us), ATRA, and work sometimes I don't actually see my husband until we are are ready to call it a day and go to bed. Now I know lots of people live like this...but I'm just not used to it. I MUST have my all-of-us-together time. It refuels my motivation to carry on as a stay-at-home mom- doing the same routine stuff day after day. Of course I LOVE my job and feel incredibly blessed to be the caretaker to these two sweet kiddos, but it does get mundane at times.

On Friday after Jonathan got home from work, he packed up his overnight bag and headed out. He was asked to take the teachers and priests of the ward fishing early Saturday morning. He spent the night with the bishop in a trailer, which I think is kinda funny...but anyway I spent that night alone with the kids. We tried to make the best of it but I was really missing him. Then on Saturday, he came home much later than expected and we had just enough time to go pick some blueberries- which were harder to find this time as the season for blueberries is ending. It was super hot so we stopped for ice-cream cones on our way home. It was a perfect evening, and I wasn't ready to end our weekend there.

(yes, these pictures are ALL from instagram. It's so much easier taking pics with my phone than lugging my huge camera around. I love having an iphone!)

Sundays are so hard, and truth be told I dread Sunday every week. I won't go into those details right now...but I really didn't want to spend that day wrestling grumpy, tired kids in the hallways of church.

We decided to take a family day-cation. I found a sub for my class and planned out our day. I gotta say I am so glad that we did this...it was really nice to not be stressed for one Sunday and just relax and enjoy being a family together. And no we don't make it a habit to skip church. In fact since we've lived here in Oregon a year and a half ago I don't think we've missed a single Sunday (if we had a sick child one of us would still go to Sacrament).

The plan was to drive north along the coast and stop at a few beaches. We packed a ton of food and snacks so we wouldn't have to buy anything and filled up on gas the night before.

One of my favorite things about living here is that the coast is only an hour and a half away. Our first destination was a 2 hour drive to Pacific City, and even though at 10 am. it was pretty cold and windy and foggy- the beach was beautiful. Lots of people were there walking along the shore and exploring the tide pools and little caves.


I tried taking off C's shoes at one point so she could feel the sand in her toes, and she screamed. haha...she was terrified of the sand touching her feet and did not like it all.

As we were traveling to our next destination we came upon the darling town of Tillamook. If you've ever eaten Tillamook cheese or ice-cream--this is where it came from! I said to Jonathan, "How fun would it be to go to the cheese factory?" and he said, "yeah...but it might not even be open on Sunday, and if it is probably costs a lot, and I don't know where it is..." This is how our marriage is sometimes, haha. I always want to go do spontaneous things and he gets skeptic, but usually rolls with it anyway :) Well it just so happened that the Tillamook Cheese Factory was right off the road we were on, and about 5 minutes after I made my comment we saw it. I got super excited and we pulled in to see what the deal was. It was VERY busy and admission was free! We caved in a little and got ice-cream cones, which we all devoured very quickly..haha. It was so cool to see the people in the factory slicing and packaging the cheese. Talmage kept saying, "Look! He's cutting the cheese!" and people would chuckle behind us. At the end of the tour you could sample all the different kinds of cheese they make. This place was just adorable and I hope we can go back again someday!


Since the drive to our last stop was a few more hours, Charlotte was able to take a good long nap. We drove along the coast the entire way, through lots of sleepy little coastal towns and windy forested roads. At one point we just had to pull off and take in the scenery. There is nothing more beautiful than the Oregon Coast on a clear sunny day!


We arrived at Cannon Beach around 2 pm. This beach was COMPLETELY different than the other. The sun was out, the sand was soft and warm, and the scenery was all blue water and blue skies. My heart skipped a few beats as we walked up to the shore. It was GORGEOUS. We set up our tent shade thingy and from our spot we could see the ever popular Haystack Rock in the distance.

Charlotte finally warmed up to the sand and we couldn't get her out of that stuff. Talmage was the same way, and those two could have played in that sand all day!


 We ended our day by walking to Haystack and exploring the tide pools there. These kids were in heaven...but it was pretty windy too and they started to shiver. Our cue to go! haha.


As we were walking back to the car, I had Charlotte on my chest nearly asleep. Talmage had heavy eyelids and was a little disoriented, asking where us where the ocean was. I love it when we play so hard that they are so exhausted. As soon as we began our drive home they were OUT.


Now we are home and recovering from minor sunburns (I brought a ton of sunscreen but we were having so much fun of course that I forgot to use it...oops).

Ahh. What a perfect day!! We can't wait to get back on the beach!

Wednesday, July 24, 2013

Goodwill crafts

I love a good hunt. The thrill of looking for something so specific and the adrenaline rush that comes with tracking it down until you've got exactly what you came for. It's the whole reason I shop at Goodwill. I've gotten a lot of good finds at thrift stores but my favorites are old things that I can turn into new (or well...new for me at least).

It all started when my sister-in-law Megan told me she wanted to make an FHE board (FHE="Family Home Evening" is something that we Mormons have once a week, devoted to spending time with our family). I told her that I, too, had pinned about a dozen or so ideas from Pinterest but none had really appealed to my taste. We texted about ideas back and forth, and mutually agreed that it would be so much fun to do this craft together! Megan lives in Virginia and I in Oregon, so we would virtually keep each other up to date via text and picture messages. She gave me the idea to use a metal sheet from Home Depot ($10) as my board, so I went out and got one. Then a few days later I was looking at it thinking, "What on earth am I gonna do with this thing?" So I texted her again, asking her how she plans to frame it and she sent me a picture of this awesome long wood frame with a design on the top. And THAT, my friends, is when I discovered the CALENDAR FRAME!

Apparently, back in the day (and maybe still...?) people would hang their calendars in these frames and it would hold the thing in place so that you know...if a burst of wind came through the door the month wouldn't change from March to October, thus surely confusing those in the household to dress up for Halloween way before it was actually fall. haha...but for real, I have *never* before seen one of these until now. And so I asked her, "Do you think I could find one at our Goodwill?" and she said, "I'm not sure...there were two of them at mine and I thought that was pretty rare considering I had no idea what it was! But I liked the way it looked so I got one!"

That very night I ventured out to Goodwill after the hubs got home and searched & searched, digging through a blur of orange-colored oak and something that smelled like mothballs. I couldn't find anything that resembled a calendar frame, and I was making my way back up the isle when I saw a long wooden shape at the bottom of the "rubble". It took a few beads of sweat to pull it out, but when I did I saw that not only was it EXACTLY what I was looking for but there was even a sticker that said "This Oregon-made calendar frame will last you a lifetime." I said out loud, "YES!" and the guy that worked there turned to me and said, "Find something good?" haaa...

Anyway, enough of my Goodwill shenanigans. This particular frame had a bar across the middle of it, so I had the mr. take it out with his nifty tools.
before
after- no bar!
I did the "distress with vaseline" method then spraypainted it white, but unfortunately I used the vaseline on it like I use it on my lips and went a little crazy...it turned out a little too distressed for me. I tried to resolve this by spraypainting over it, but it still chipped off in places where the vaseline had soaked into the wood. So- it still has a distressed look just way, way less distressing :D

before- it looks much better in the picture than it did in person.

after- just a wee bit chipped here & there. much better in my opinion!
I covered the metal sheet with scrapbook paper using glue dots (super cheap and then you can switch out the paper if you like). All the letters I cut with my Silhouette (using a font that Megan and I agreed on for our project. We only discussed fonts for oh, a few hours. ha). Then I attached the little wooden labels with more glue dots, and on the name tags (which are actually scrapbook..um, thingies) I hot glued magnets so I could move them around each week.

All the wooden labels I found at the craft store! They were inexpensive and just what I needed.


It was as easy as sliding the metal sheet right into the frame, without having to trim it or attach it whatsoever.


Megan made hers more simple but I love it just as much!


She painted her board white also, but left the metal sheet as is and stuck the vinyl letters on with a method I've never seen before. She peeled off each letter about halfway, leaving it on the vinyl sheet- then stuck those letters at once to the metal that they were perfectly lined up. Genius!

She also measured the spacing evenly on the metal sheet and put tape down to mark where the letters go. I didn't even think about this. I'm not patient enough to measure, haha...but it sure does make a difference!


And for the labels, her husband took a long wood strip similar in size to a yard stick and cut out sections with his saw. Then he routed the edges a little. The stick only costs 69 cents!


 So there you have it! Two different but similar ways to make an FHE board that is super budget-friendly!


My next Goodwill project was the ever so popular chalkboard sign. I just found a mirror that had a nice shape and painted the mirror part with chalkboard paint, and of course the frame white. Easy peasy!
before
after


I also picked up some shelves from there recently. I forgot to take before pics but one was dark green and the other black. I just did the same ol' thing I always do and painted them...yep- WHITE! haha. I love them.


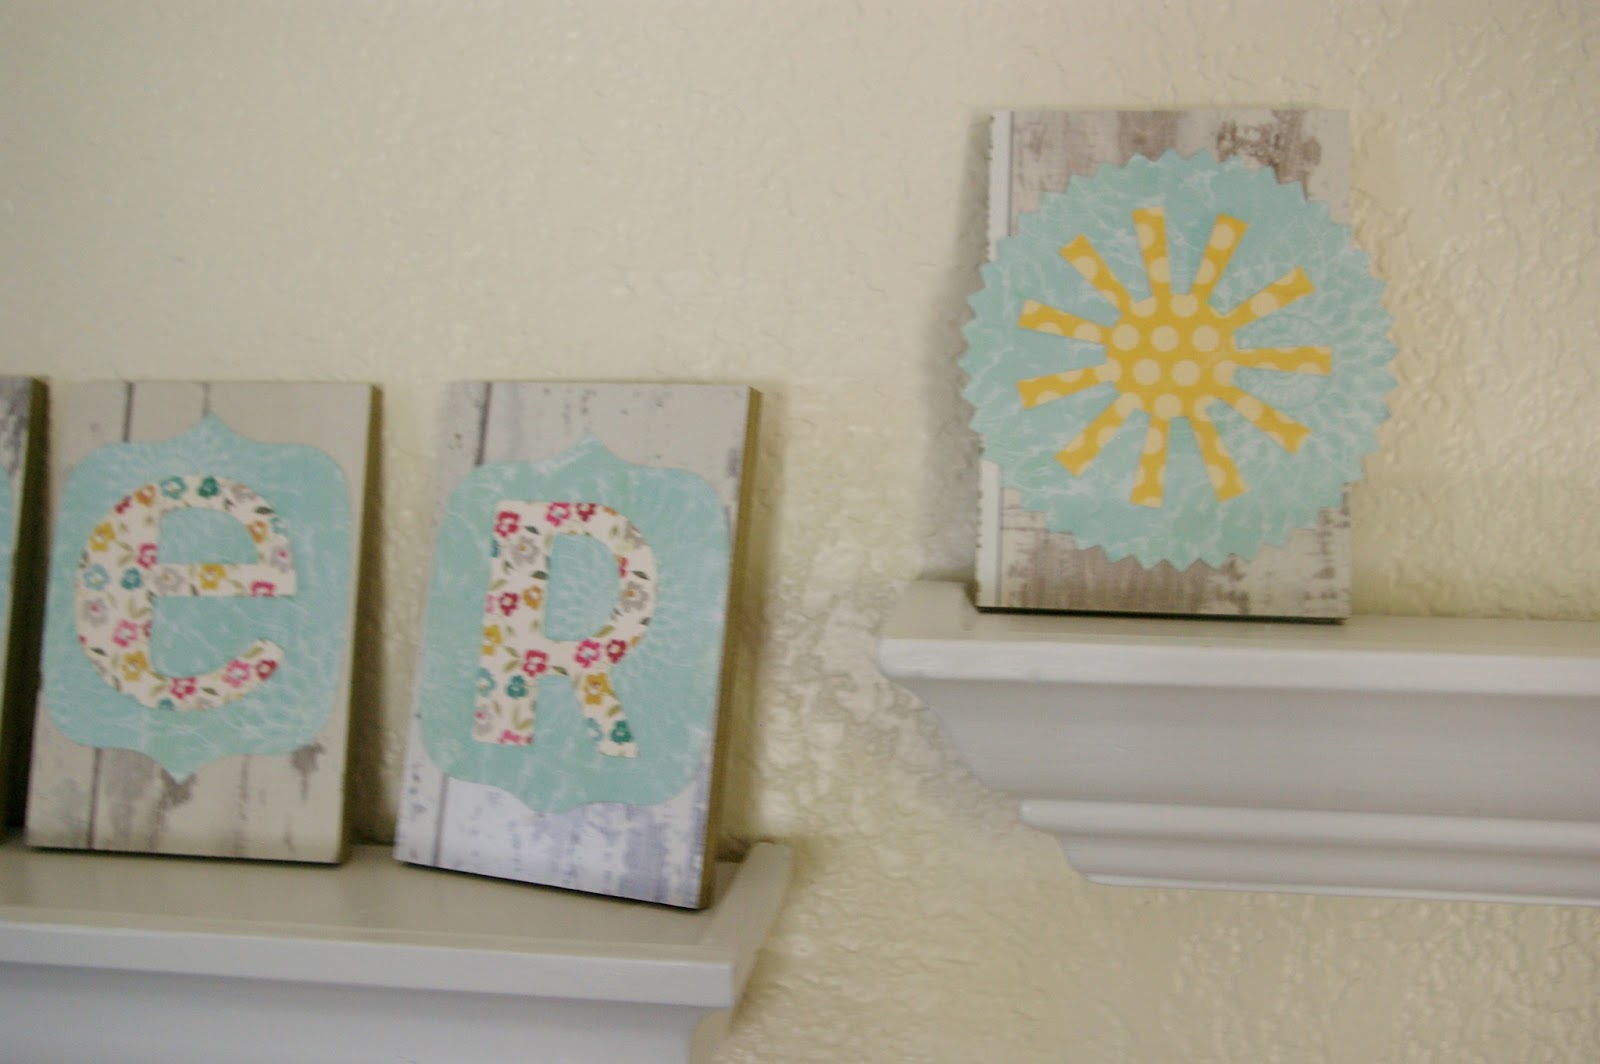
Those blocks sitting on the shelf were FREE from Home Depot (in the wood floor section). They are samples of laminate or something that you can take, so I stocked up and mod-podged these letters to them. And yes, they were absolutely FREE. You're welcome ;)

and that is what now occupies this corner of my living room. My Goodwill corner! lol


Also from Goodwill: this little stool, perfect for my Charlotte to sit her tushy on. It was so adorable and tiny- I had to have it!


All I did was unscrew the lid and spray paint the stool, then cover the lid with fabric using my handy staple gun (okay...confession- my husband used the gun. I'm terrified of that thing).


Charlotte noticed it right away when she came toddling out from naptime, and she LOVES it. It's a nice addition to our little kid table (also from Goodwill...and also painted white...do I maybe have an obsession here?)


It's truly a rare thing for me to go into a thrift store and come out empty-handed. The possibilities! Love gettin my thrift on and poppin tags :D


and these are just extra pictures...not DIY related whatsoever... ;] Can you tell how much these two love each other?!


Now go get on to your local thrift store and get craftin! ; D


***this post is being featured on my friend's blog, Tales of a Frugal Momma. Though I've never really aspired to be a guest poster, I was totally flattered that she asked me :] Thanks Frugal Momma for letting me share this with others!